Multipitch Atlas

Barabba

Placche di Pré de Bar (Val Ferret, Arnouva) · Aosta Valley · Italy

Easy to bailBolting confidence: high

A pretty plaisir route on edgy, quartz-studded granite slabs beneath the Mont Blanc massif. The crux is a short bulge and steep juggy wall on P4. Camptocamp rates it 'great'.

Topo of Barabba on the Contrefort de Pré de Bar, Val FerretPhoto: herve thivierge · CC BY-SA 3.0

Topo

Topo of Barabba on the Contrefort de Pré de Bar, Val FerretPhoto: herve thivierge · CC BY-SA 3.0
Hardest pitch
6a
Pitches
7
Length
180 m
Approach
30 min
Aspect
SW
South-west-facing
Rope
2×50 m

The route

Overview

Barabba is a short plaisir route on the Pré de Bar slabs (Contrefort de Pré de Bar, Andrea Ciola sector) beside the path to the Dalmazzi hut at the head of the Italian Val Ferret. Seven pitches, about 180 m, on granite slabs studded with quartz and small edges, with a short bouldery bulge on P4 as the crux (6a, or A0). It was bolted in 2017 and is generously equipped, with every belay set up for abseiling. Recent parties find the grades friendly. The first four pitches are the best.

The climbing

Pitch by pitch

Pitches of Barabba
PitchGradeLengthBoltsNotes
P15c+35 m9 boltsA sustained granite slab on quartz knobs and small edges. Go all the way to the belay on the ledge; there is an intermediate belay about two thirds of the way up. Gulliver gives 40 m.
P25c25 m7 boltsA steeper step or small bulge to start, then easier slab.
P35c20 m5 boltsSlab, then exit by a corner. Gulliver gives 25 m.
P46a30 m10 boltsMove right along the grass ledge across the gully. A bouldery bulge at the first bolt is the crux (A0 possible), then a steep wall and a slightly overhanging exit on good holds. Still somewhat lichenous. Joins 'La Nord dell'Eiger' at the belay.
P55b20 m13 boltsA horizontal traverse left with a few thin moves, very closely bolted (13 bolts). Camptocamp IT gives 5a; Gulliver gives 15 m. A newer line of bolts goes straight up the slab instead and reaches the ledge at R6, missing out the traverse.
P64c20 m6 boltsCross a grassy corner, then turn an overhang on the left. Watch the rope drag. Gulliver gives 4b and 25 m.
P74b25 m–Solid slab with lichen to the top.

Getting there

Approach

To the parking

From Courmayeur drive up Val Ferret via La Palud, Planpincieux and Lavachey to Arnouva (Arp Nouva), the road end at 1,780 m. The road is open only from late spring to autumn. In high season it is closed to cars in the daytime (from 9:00; late July to late August from the Pont de Frébouze, 9:00–16:00) and you take the shuttle bus to the Arnouva terminus; recent parties used the shuttle.

On foot · about 30 min

30–45 min. From Arnouva follow the path towards the Dalmazzi hut, across the torrent and up to the start of the moraine (about 30 min). Turn right on a faint path at a sign 'settore Andrea Ciola'. Go up between two rock bands, then follow cairns leftwards almost on the level through bilberry and juniper for about 100 m to the foot of a big slab. Do not go too high after the rock bands or the traverse gets harder. There are two routes; Barabba is the right-hand one. There is no name at the base; the first bolt is about 3 m up.

Finding the route · 3 photos

Approach photo

Map of the walk-in

  • Crag
  • Parking

Loading map

The point marks the crag, not the exact start of the route.

Coordinates · crag

45.88716, 7.05701

Parking

45.87250, 7.05474

Arnouva (camptocamp access point)

Point from camptocamp waypoint 137028

For your phone or watch

Download GPX

Contains the route point and parking. Opens in most mapping apps and GPS watches.

Points are compiled from published sources, with the precision stated above. They were not surveyed on the ground: check them against a current topo.

Getting down

Descent

Abseil the route; all belays have maillons. The published sequences differ, but all use about four abseils on two ropes. Camptocamp IT: four abseils, avoiding the traverse with a direct 50 m abseil and then moving a few metres right (facing in) to R3. A 2025 party with 50 m ropes went R7 > R5 > R3 > R1 > ground. Gulliver gives the same four abseils with 2×60 m. Camptocamp FR: from R6 to R4, then with 2×60 m to R3 and R3 > R1 > ground. A 2026 party counted eight belays and abseiled R8 > R6' (a separate anchor joined with white and blue cord, off to the side of the line climbed) > R4 > R2 > ground with 2×50 m. From the base you can cut north to rejoin the hut path.

Retreat

Bailing off the route

Easy to bail

Yes. Abseiling the route is the normal descent and all belays have maillons, so you can retreat from any stance. With two 50 m ropes parties drop two pitches at a time (for example R5, R3, R1, ground). Take care to identify which anchor you are at, because there are more anchors on the wall than the topo shows.

Retreat from
Any belay. The traverse of pitch 5 is avoided on the way down by a direct 50 m abseil followed by a move of a few metres right (facing in) to R3; a separate corded abseil anchor near R6 is also reported.
Carry
2×50 m or longer. Two 40 m ropes, as listed on Camptocamp, do not cover the direct 50 m abseil. Retreat on a single rope is not documented.
Basis
Stated in the sourcesCamptocamp and Gulliver state that all belays are equipped for abseil and that the route is descended in about four abseils on two ropes; nothing here is inferred beyond applying that to a part-way retreat.

Safety

Hazards

  • Two 40 m ropes, as listed on Camptocamp, do not cover the direct 50 m abseil that the same page describes. Take 2×50 m or longer.
  • The number of belays on the ground (intermediate belay on P1, an extra offset abseil anchor near R6) does not match the 7-pitch topo. Check which anchor you are at before abseiling.
  • Lichen on P4 and P7; seepage below the grassy ledges after wet weather.
  • No route name at the base and two starts side by side: one party climbed the left-hand route by mistake.
  • Daytime road closure and shuttle in high season.

Sun and weather

Conditions

West to south-west facing at about 2,000–2,250 m. A September party found the route in shade all morning. Summer and early autumn only; reports run from June to October. It can stay damp below the grassy ledges, and the approach through grass is wet with dew.

Usual season · Jun to Sep

Sun on the wall · SW-facing

Working out the sunlit hours for this month.

  • January: not yet worked out
  • February: not yet worked out
  • March: not yet worked out
  • April: not yet worked out
  • May: not yet worked out
  • June (usual season): not yet worked out
  • July (usual season): not yet worked out
  • August (usual season): not yet worked out
  • September (usual season): not yet worked out
  • October: not yet worked out
  • November: not yet worked out
  • December: not yet worked out

Sun on the wallDaylight, wall in shade● Usual season

Estimated from the wall's aspect only. Ignores surrounding terrain, gullies and the wall's exact shape. Clock times are local to the wall (Central European time), for the 15th of each month.

Climate figures for Aosta Valley are not available yet

What to carry

Gear

Two ropes of at least 50 m for the abseils. 12 quickdraws (Gulliver); Camptocamp says 10, but P5 has 13 bolts. Cams are useless (Gulliver). Helmet.

Checklist

Quickdraws
12
Rope
2×50 m
Helmet
One each
Abseil device and prusik
The descent or the retreat involves abseiling

Derived from the route data; check it against a current topo

From climbers

Reader reports

Reader reports are not being collected yet. Until they are, check a current topo and the local club or guidebook publisher for recent changes to Barabba.

Worth knowing

Tips

  • With 2×50 m ropes you can link pitches in pairs (P2+P3 is commonly linked; one party linked everything in pairs).
  • The crux bulge on P4 goes at A0 if needed.
  • The newer direct bolt line from the end of P4 to the R6 ledge skips the traverse and the 4c pitch.
  • It combines well with a walk up to the Dalmazzi hut; one party climbed it in 2.5 h path to path.

Open questions

Where sources disagree

  • Rope: Camptocamp lists 2×40 m, but its Italian text needs a 50 m abseil, its French text mentions 2×60 m, Gulliver assumes 2×60 m, and recent parties used 2×50 m. 2×50 m followed here.
  • Quickdraws: 10 (Camptocamp) versus 12 (Gulliver); P5 has 13 bolts.
  • P5 grade: 5b (Camptocamp FR, Gulliver) versus 5a (Camptocamp IT). P6: 4c (Camptocamp) versus 4b (Gulliver).
  • Pitch lengths differ by 5 m on P1, P3, P5 and P6 between Camptocamp and Gulliver; Gulliver's headline length of 250 m does not match its own pitch total of 185 m.
  • Approach: 45 min (Camptocamp FR) versus 30 min (Camptocamp IT, Gulliver).
  • Aspect: SW (Camptocamp) versus W (Gulliver).
  • Pitch count: 7 in all topos; a 2026 party counted 8 belays.

Provenance

Sources

Same area

More in Aosta Valley

All routes in Aosta Valley
Topo of Bucce d'Arancia on the Corma di Machaby, Arnad

Italy · Aosta Valley

Bucce d'Arancia

This is the most-climbed route on the Paretone. It gives sustained, varied slab and crack climbing on good gneiss, and the hardest moves are a fine crack on P2, a slanting corner and a punchy wall. Queues are common on good days. The Mani Nude guidebook grades it stiffly; camptocamp's Italian page calls it sustained at 5b–5c+ with a single 6a.

6a10 pitches290 m

Read the cautions
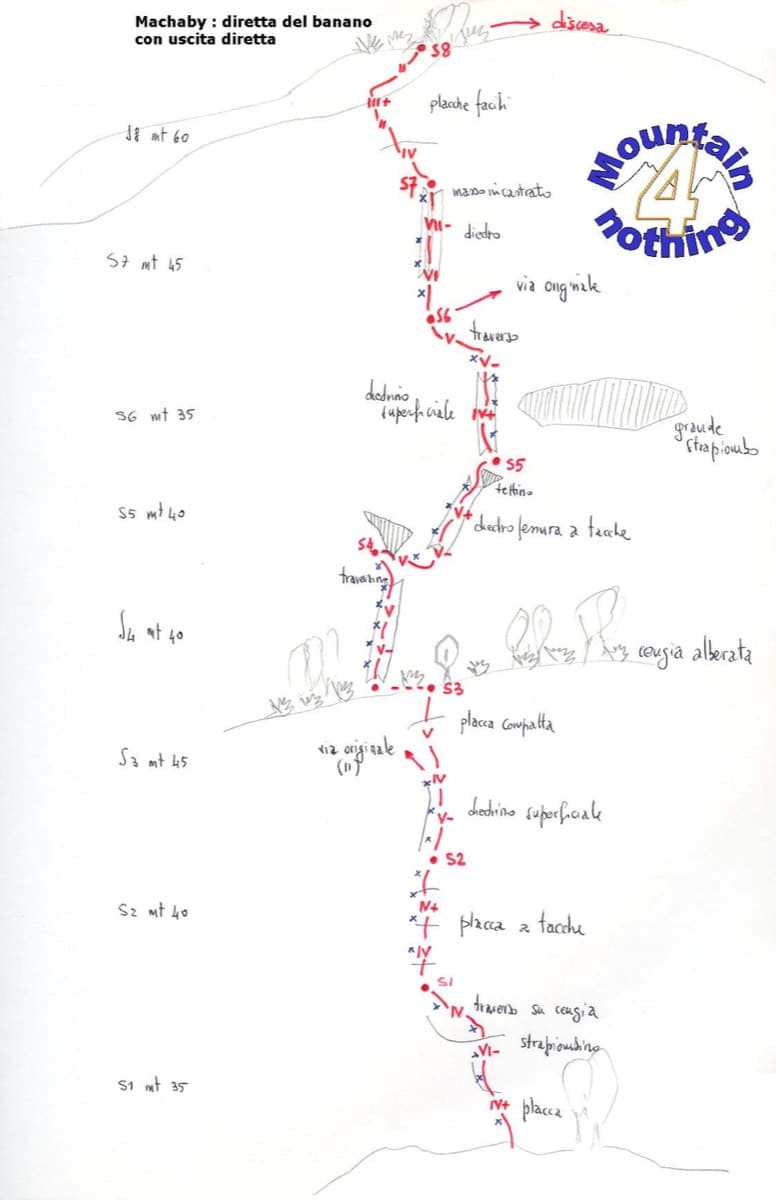
Hand-drawn topo of Diretta al Banano (direct finish), Corma di Machaby

Italy · Aosta Valley

Diretta al Banano

Along with Bucce d'Arancia this is the Paretone's other great classic (first ascent 1977, later retro-bolted). It climbs big, juggy, non-athletic slabs on beautiful rock up the centre of the wall to near the summit. Expect a few metres above the last bolt in places.

5c+9 pitches250 m

Read the cautions

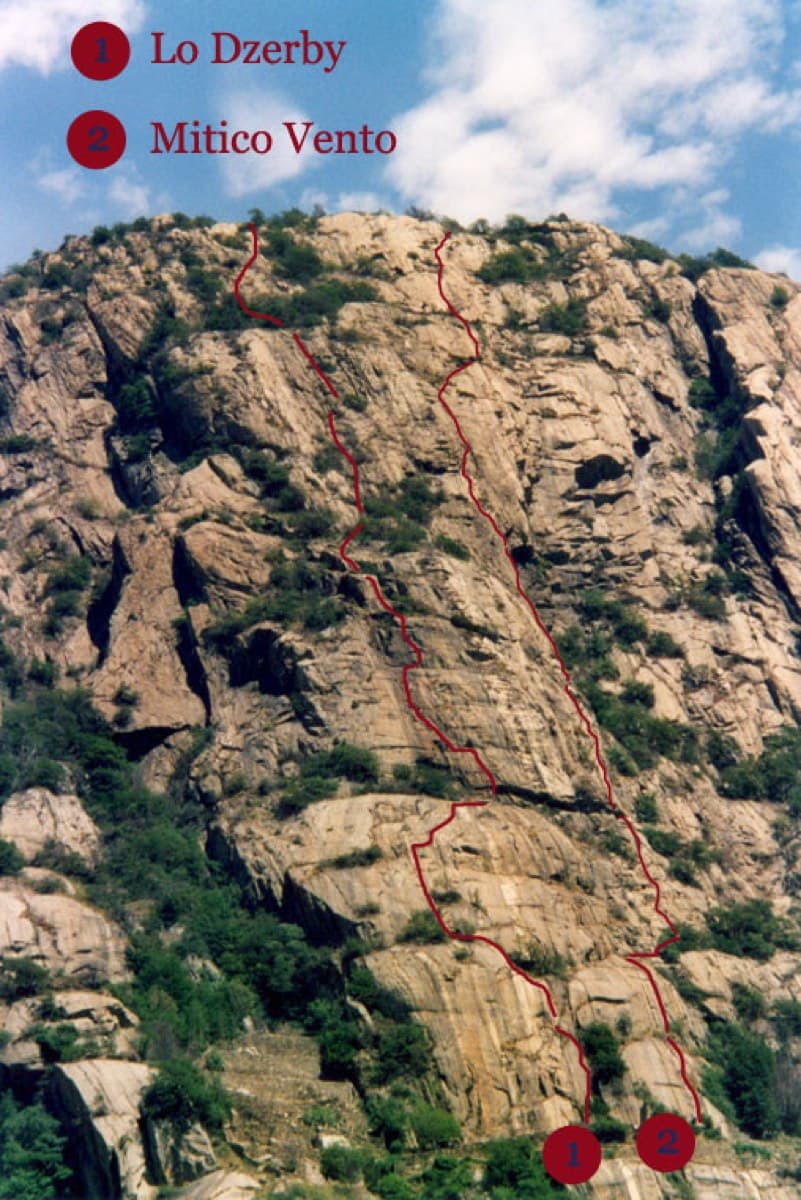
Topo of Lo Dzerby (line 1) and Mitico Vento on the Corma di Machaby, Arnad

Italy · Aosta Valley

Lo Dzerby

A long, easy-angled outing up the full height of the Paretone. A steeper lower half with an exposed pillar on P5 leads to sculpted slabs and broken steps higher up. It's a good first big multipitch.

5c13 pitches400 m

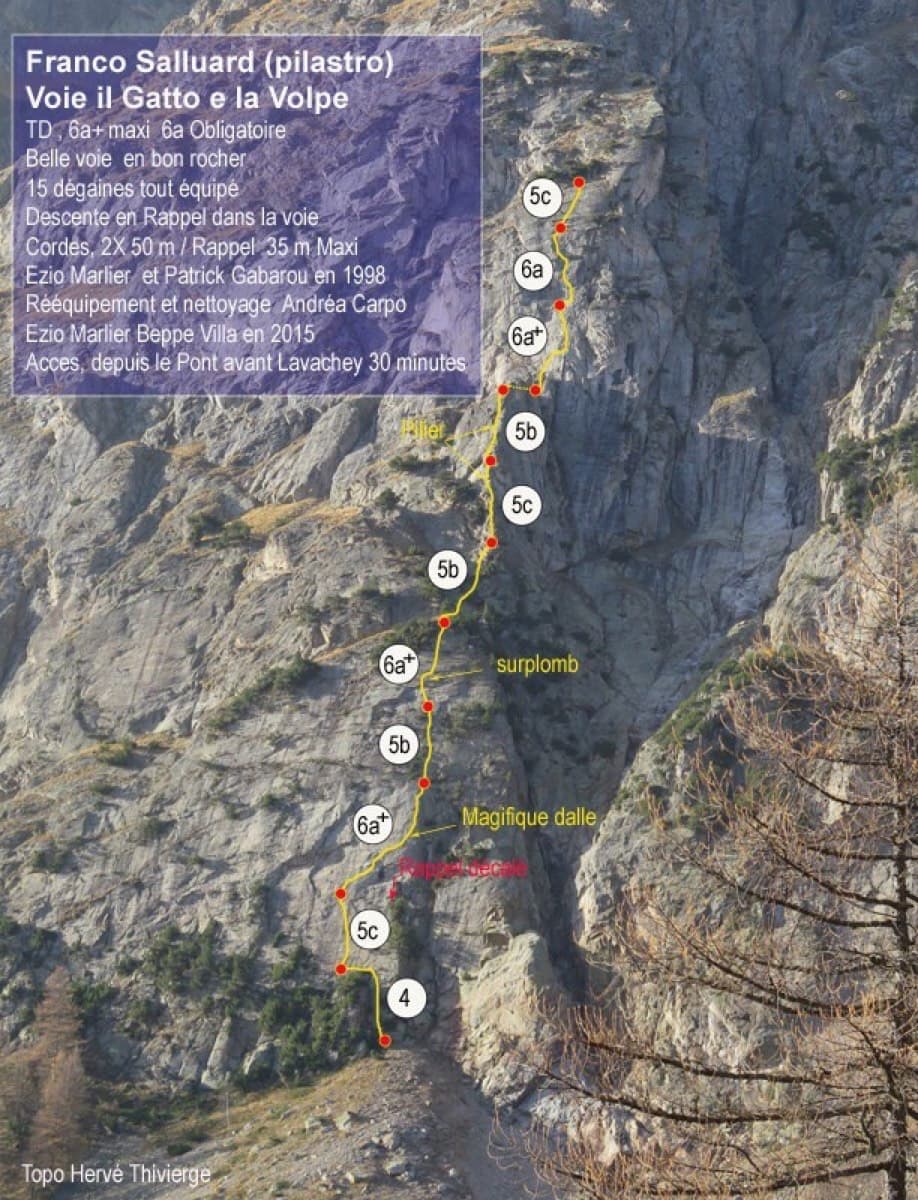
Topo of Il Gatto e la Volpe on the Pilier Franco Salluard, Val Ferret

Italy · Aosta Valley

Il Gatto e la Volpe

Rated 'great' on camptocamp: a wild setting with a short, easy approach from Lavachey. It climbs edgy granite slabs and a pillar crest, with a three-star exposed slab on P9.

6a+11 pitches350 m

Around 6a · about 7 pitches

Similar elsewhere

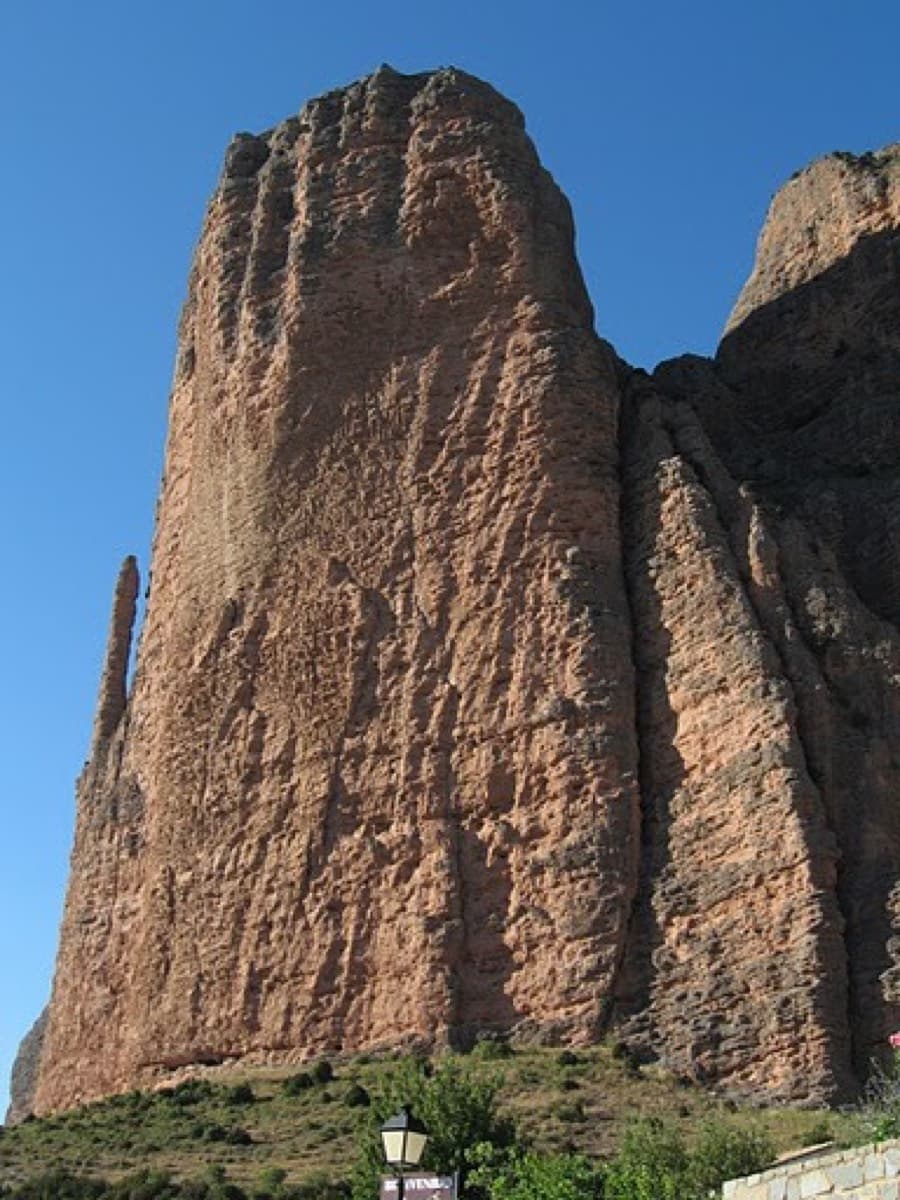
The Adamelo spur on Mallo Pisón, Riglos

Spain · Riglos & Agüero (Mallos)

Espolón del Adamelo

This is the gentlest way to sample Riglos. Polished pockets and two bulging 'panzas' lead to a 6a crux that can be pulled through on the bolts (A0). The upper spur is easy, and the Pisón towers loom close by.

6a7 pitches175 m

Read the cautions

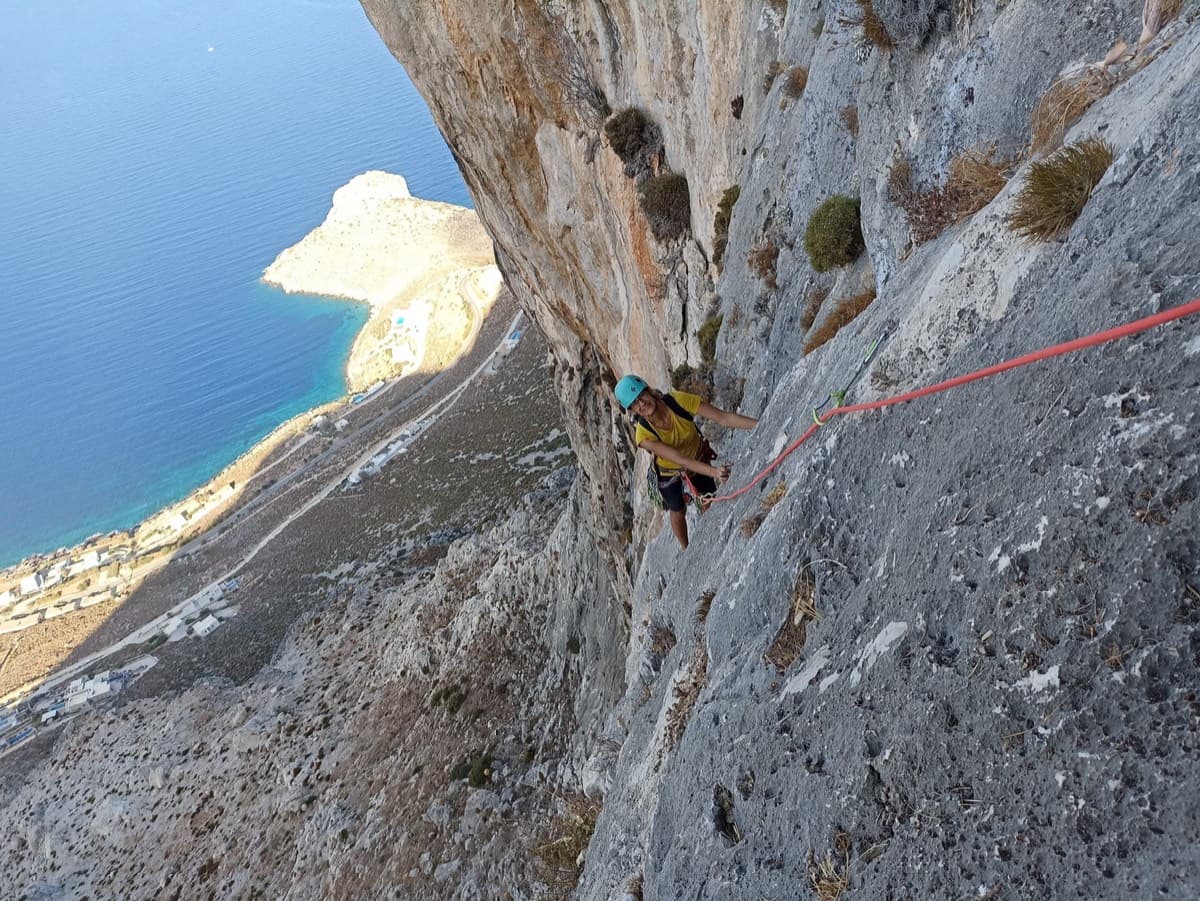
Climber on Lost Goat, Olympic Wall, Kalymnos

Greece · Kalymnos & Telendos

Lost Goat

A mountain-style outing high above Masouri, with a delicate traversing 6a on P4 and a lovely final corner. Most pitches feel easy for their grade, but the route is loose in places, so wear a helmet.

6a7 pitches170 m

No photo yet

Italy · Monte Argentario

Spigolo Bonatti

A long arête that seems to drop straight into the sea: a sustained 6a first pitch, then corners, slabs and short walls at 5a to 5b+ separated by easy scrambling, with an exposed traverse out on the open face near the top. The 6a can be aided.

6a7 pitches240 m

Read the cautions

The Ilinac wall above the Cetina near Omiš; Rambo climbs the centre of the face

Croatia · Omiš

Rambo

Omiš's signature moderate: long, slabby pitches on knobbly grey limestone with big views over the Cetina mouth and the Adriatic. The crux is a short crack on the final pitch.

6a6 pitches230 m

Compiled from published sources and last verified October 2026. Bolts, anchors and access change. Climbing is dangerous and you are responsible for your own decisions: check a current topo and read the disclaimer.